 Henrik Carlsson posted this
note
on
and tagged it with ΠiFi Music Player
Henrik Carlsson posted this
note
on
and tagged it with ΠiFi Music Player The first day with the πiFi was a great success yesterday. The kids caught on to how it worked immediately and listened to a lot of music.
Henrik Carlsson posted this
note
on
and tagged it with ΠiFi Music Player The first day with the πiFi was a great success yesterday. The kids caught on to how it worked immediately and listened to a lot of music.
Henrik Carlsson posted this
photo
on
and tagged it with snapshots ΠiFi Music Player 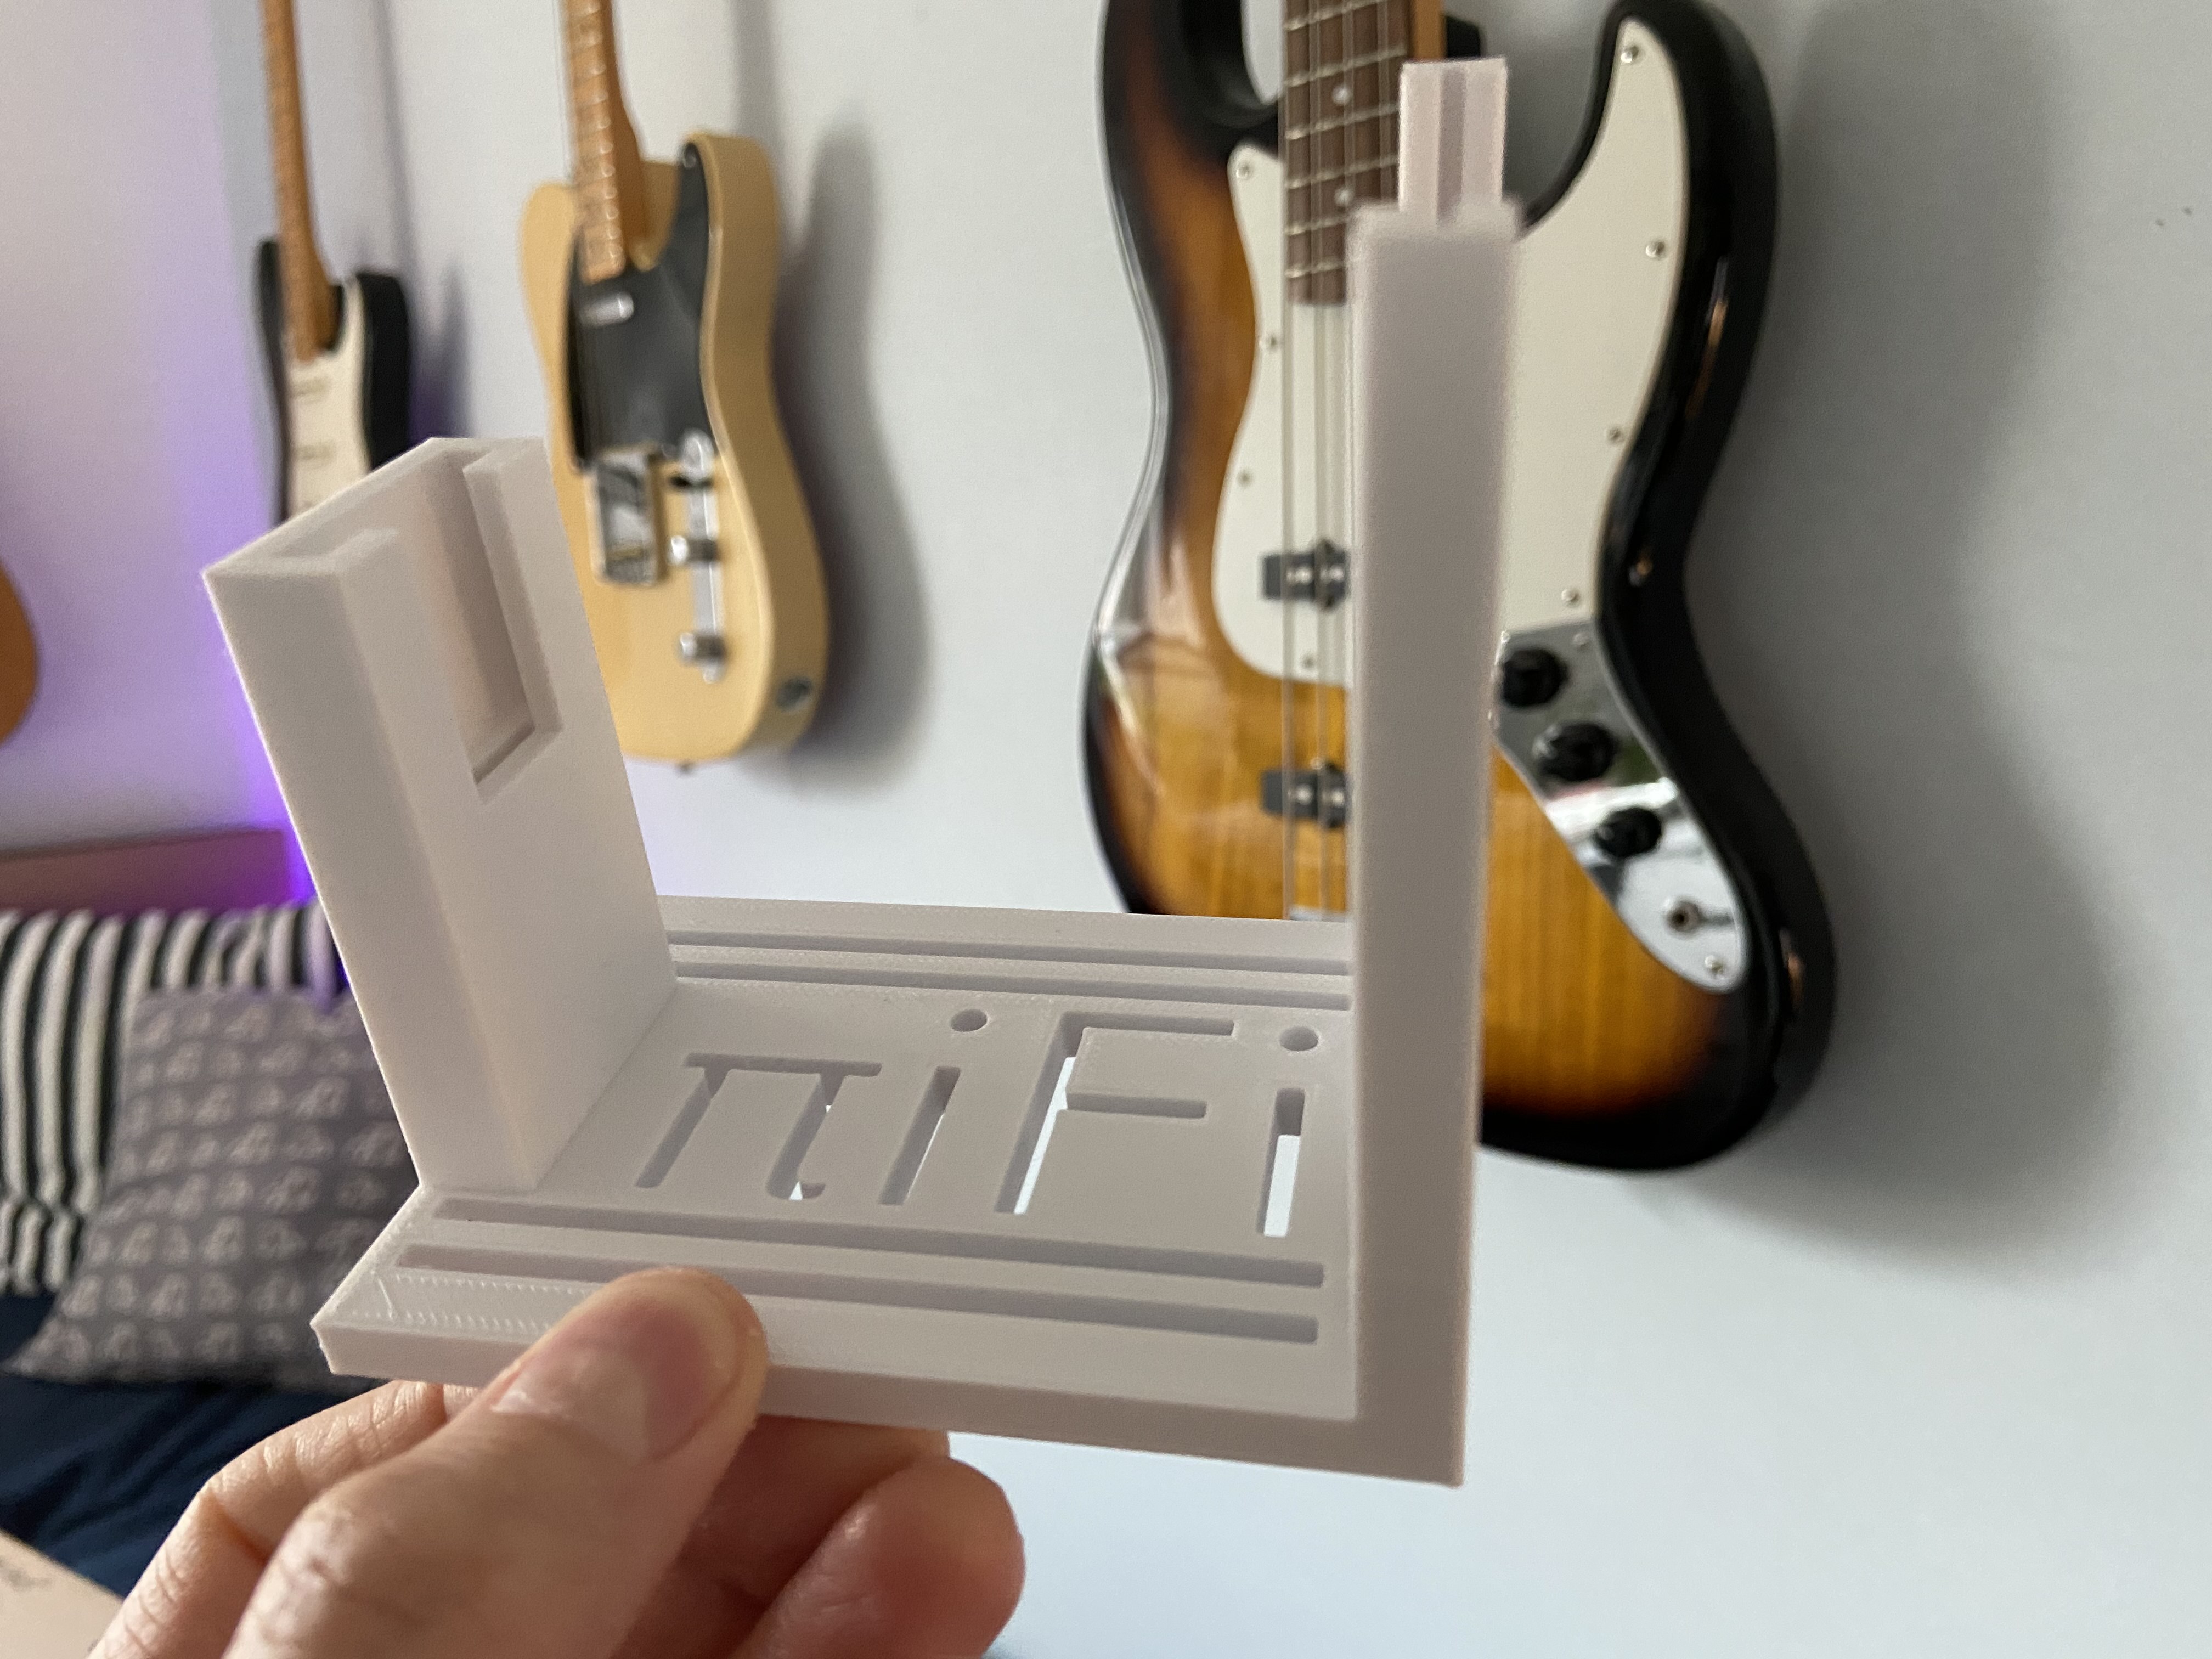
The πiFi got very hot after a while so I printed a new lid with the text and some slits for ventilation.
Henrik Carlsson posted this
note
on
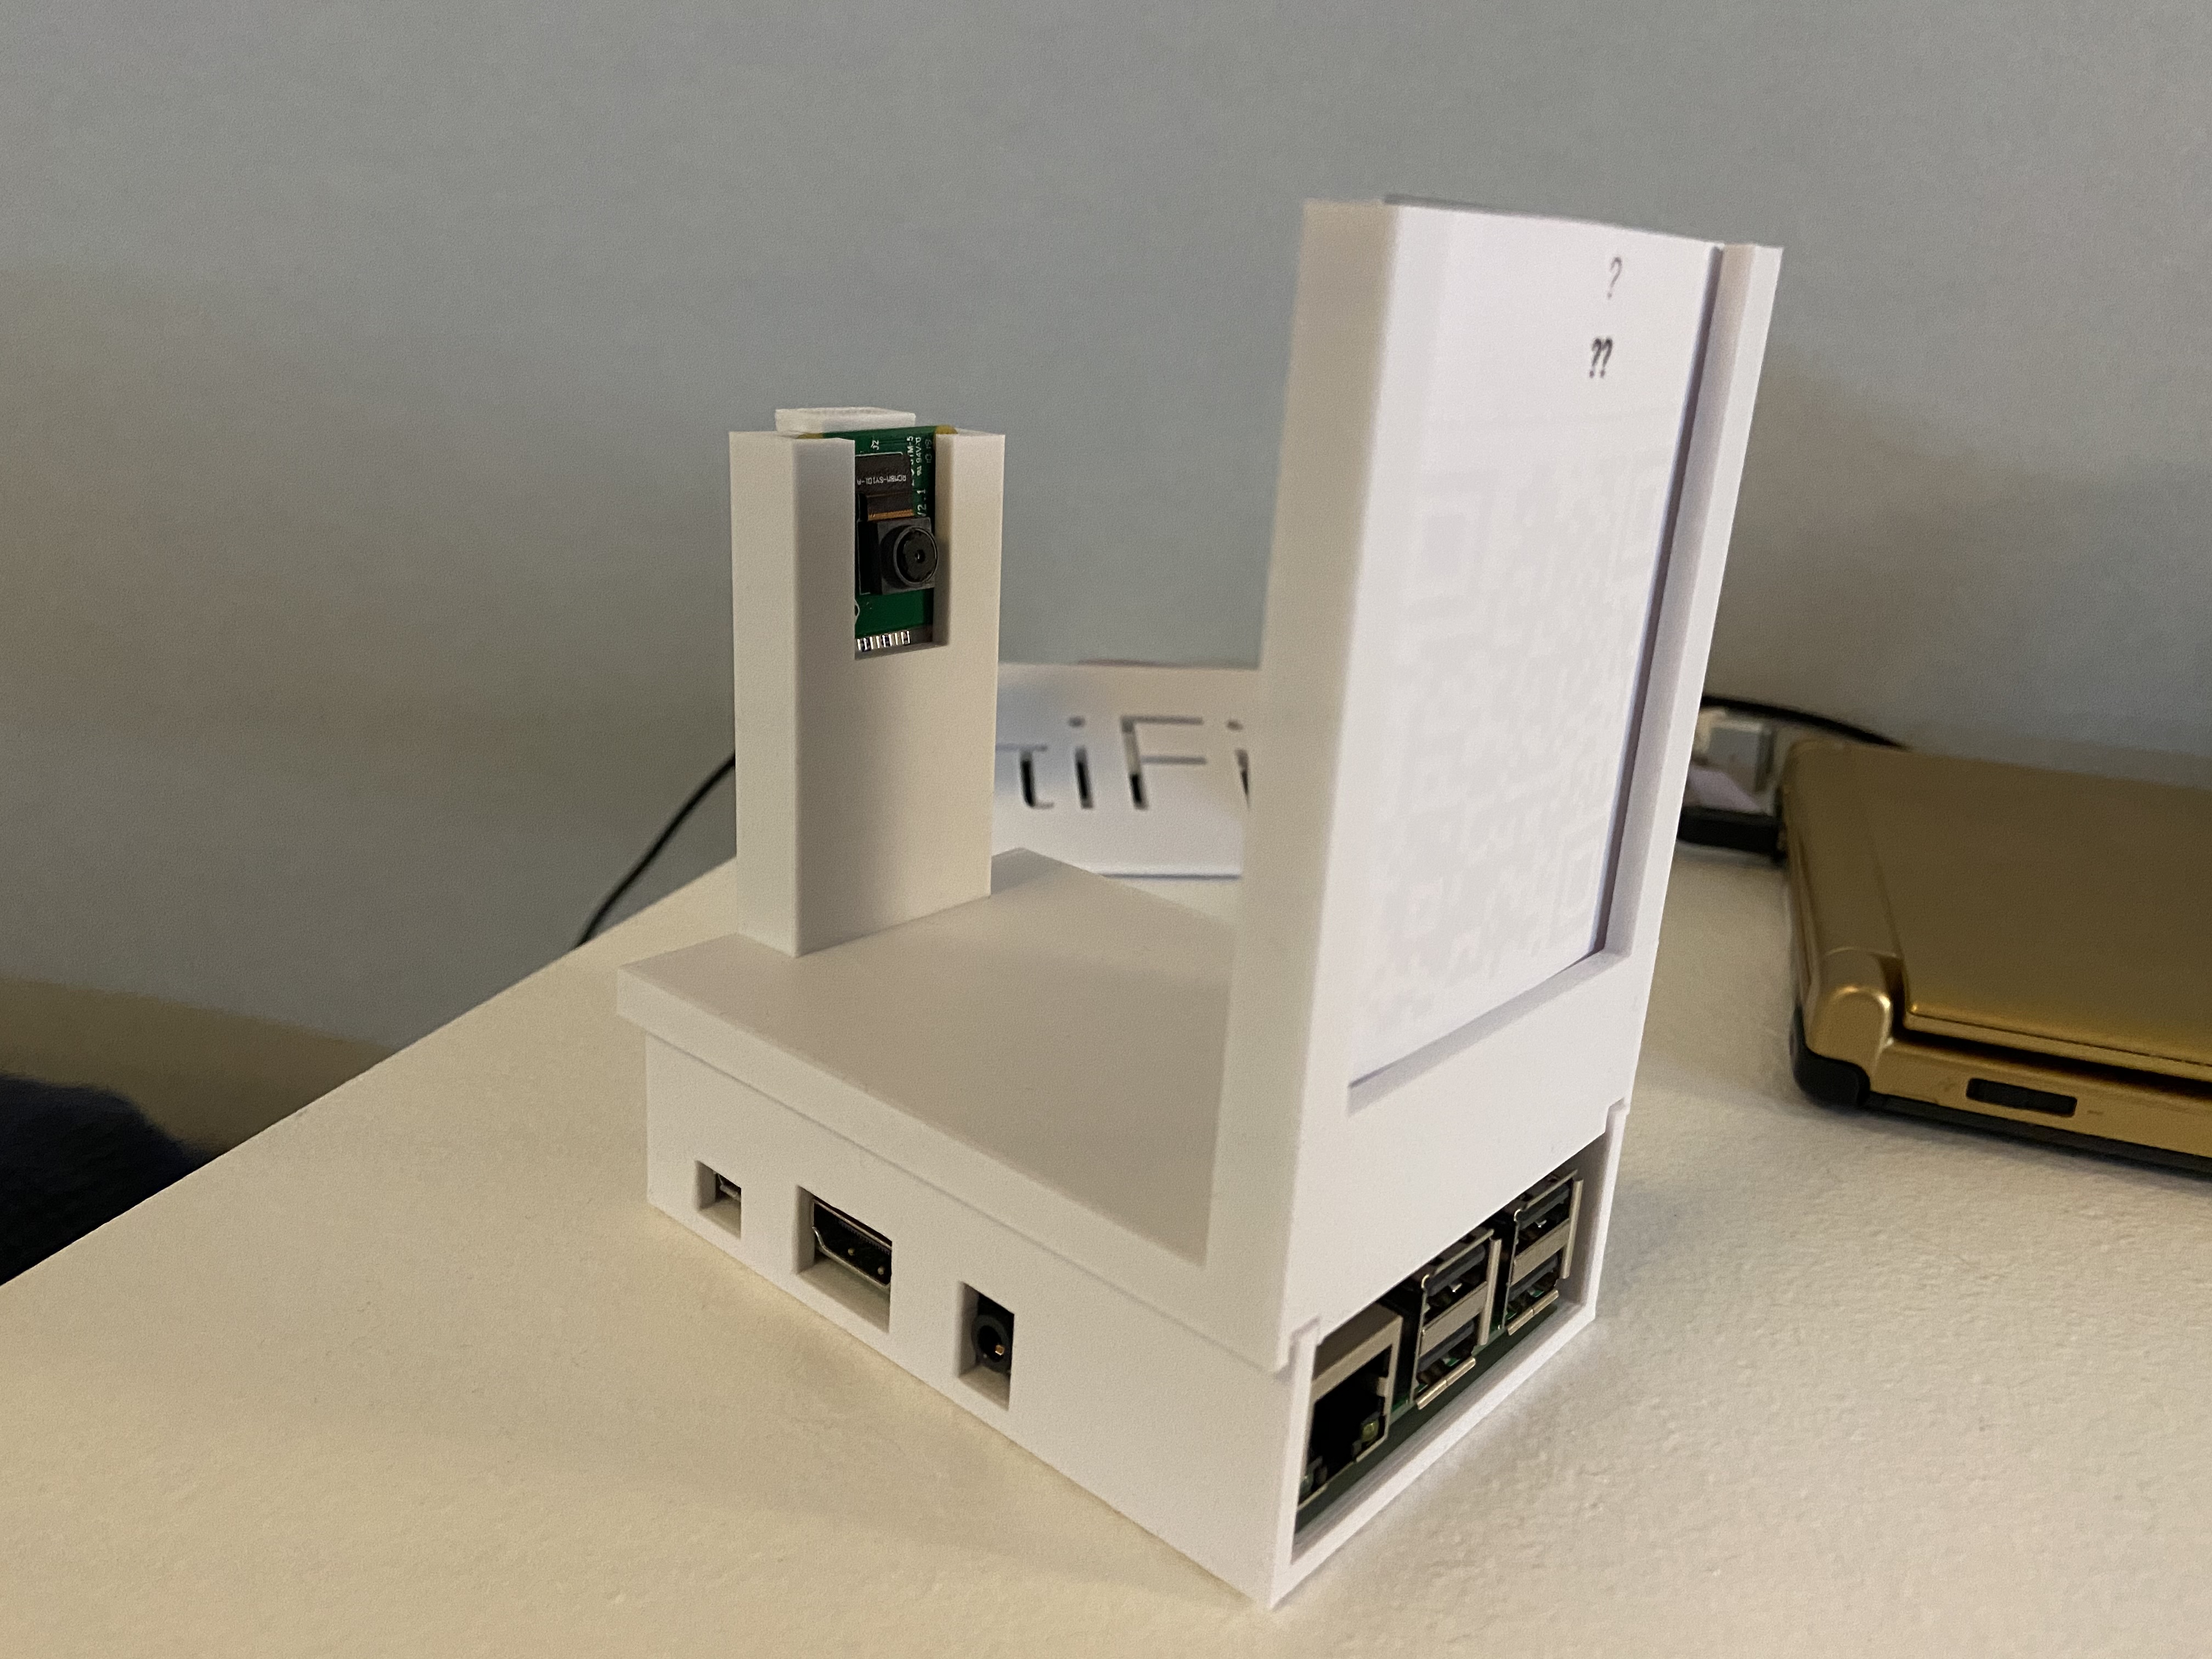
and tagged it with ΠiFi Music Player Finally, I have the first proper beta of the πiFi Music Player working. The enclosure is 3D printed and fits nicely and the software works more or less. Tomorrow I’ll ”release it to the public” (aka the kids) and see what happens.
 Henrik Carlsson posted this
photo
on
and tagged it with snapshots ΠiFi Music Player
Henrik Carlsson posted this
photo
on
and tagged it with snapshots ΠiFi Music Player 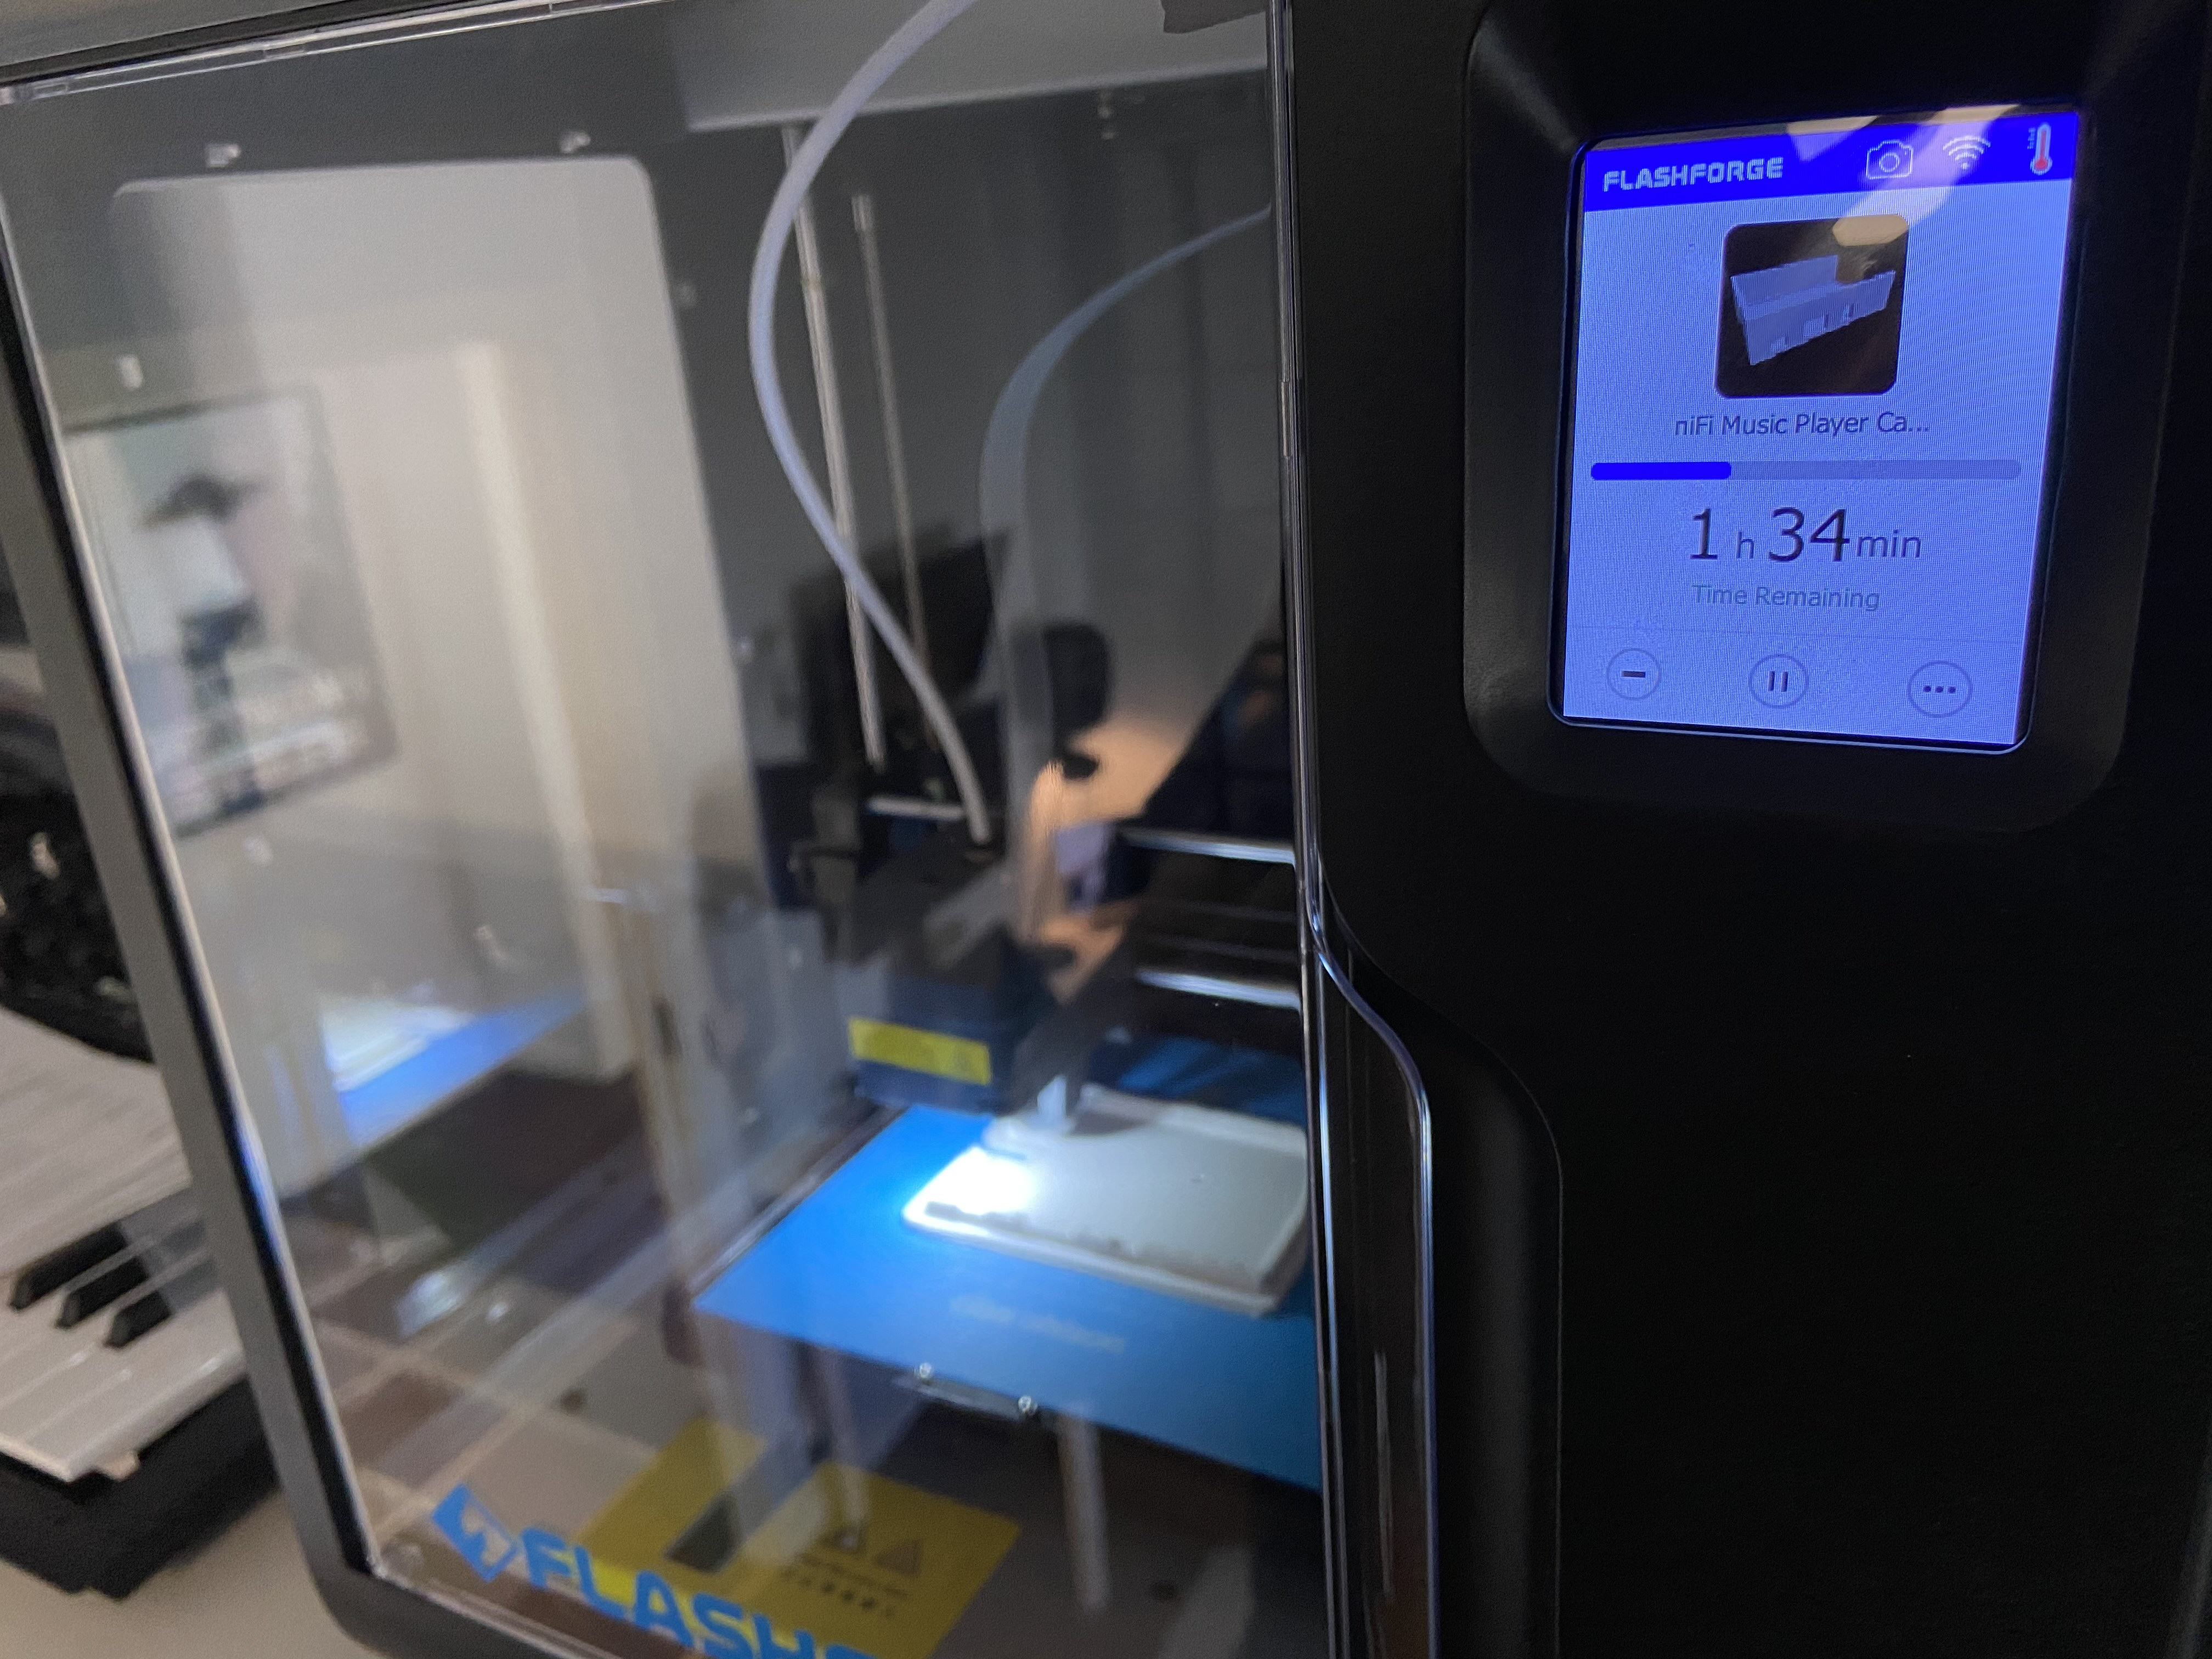
Another day, another 3D print. This is the bottom part for the PiFi and will likely be the one that will be used for the first actual working beta version.
Henrik Carlsson posted this
note
on
and tagged it with Narrating my work ΠiFi Music Player The second attempt at 3D printing a base plate for the πFi went much better but there’s still plenty of room for improvements. Currently I’m testing out sizes for the QR cards and how those sizes effects the necessary distance between the cards and the camera, which in turn effects how large the whole device will need to be. Currently I’m leaning toward a 7,0×8,5 cm large card with a 5,5×5,5 cm QR code centered on the card and this means that the full enclosure doesn’t need to be any bigger in the base than the Pi itself is.
If stand for the QR cards are on top of the USB och Ethernet ports with just a couple of mm of plastic between them, the camera sensor need to be about 55 mm above the surface of the Pi.
If I connect a display to the Pi I can use raspivid to display the output of the camera on that display. The display needs to be connected to the Pi but the command itself can be run either locally on the Pi or remotely via SSH.
For example: raspivid -o video.h264 -t 180000 -w 640 -h 480 will display an image for three minutes, showing the same that the QR Reader script will see.
Henrik Carlsson posted this
bookmark
on
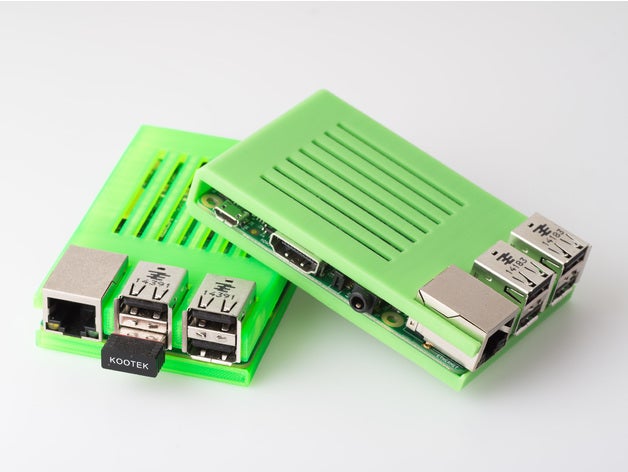
and tagged it with Narrating my work ΠiFi Music Player This looks like a simple yet functional way to design the cover of the Pi for the πFi.
Henrik Carlsson posted this
note
on
and tagged it with 3D printing Narrating my work ΠiFi Music Player Turns out there where multiple problems with yesterdays attempt at a base plate for the πFi.1 I had the measurements for the QR cards completely wrong, so even if the Pi had fit it wouldn’t have worked.
This morning I drew up a quick 2D sketch in OmniGraffle and then I worked from that one to get the 3D version in Fusion. Hopefully this one will work better. The printer says about six hours to print.
Henrik Carlsson posted this
photo
on
and tagged it with 3D printing snapshots The Year of Music ΠiFi Music Player 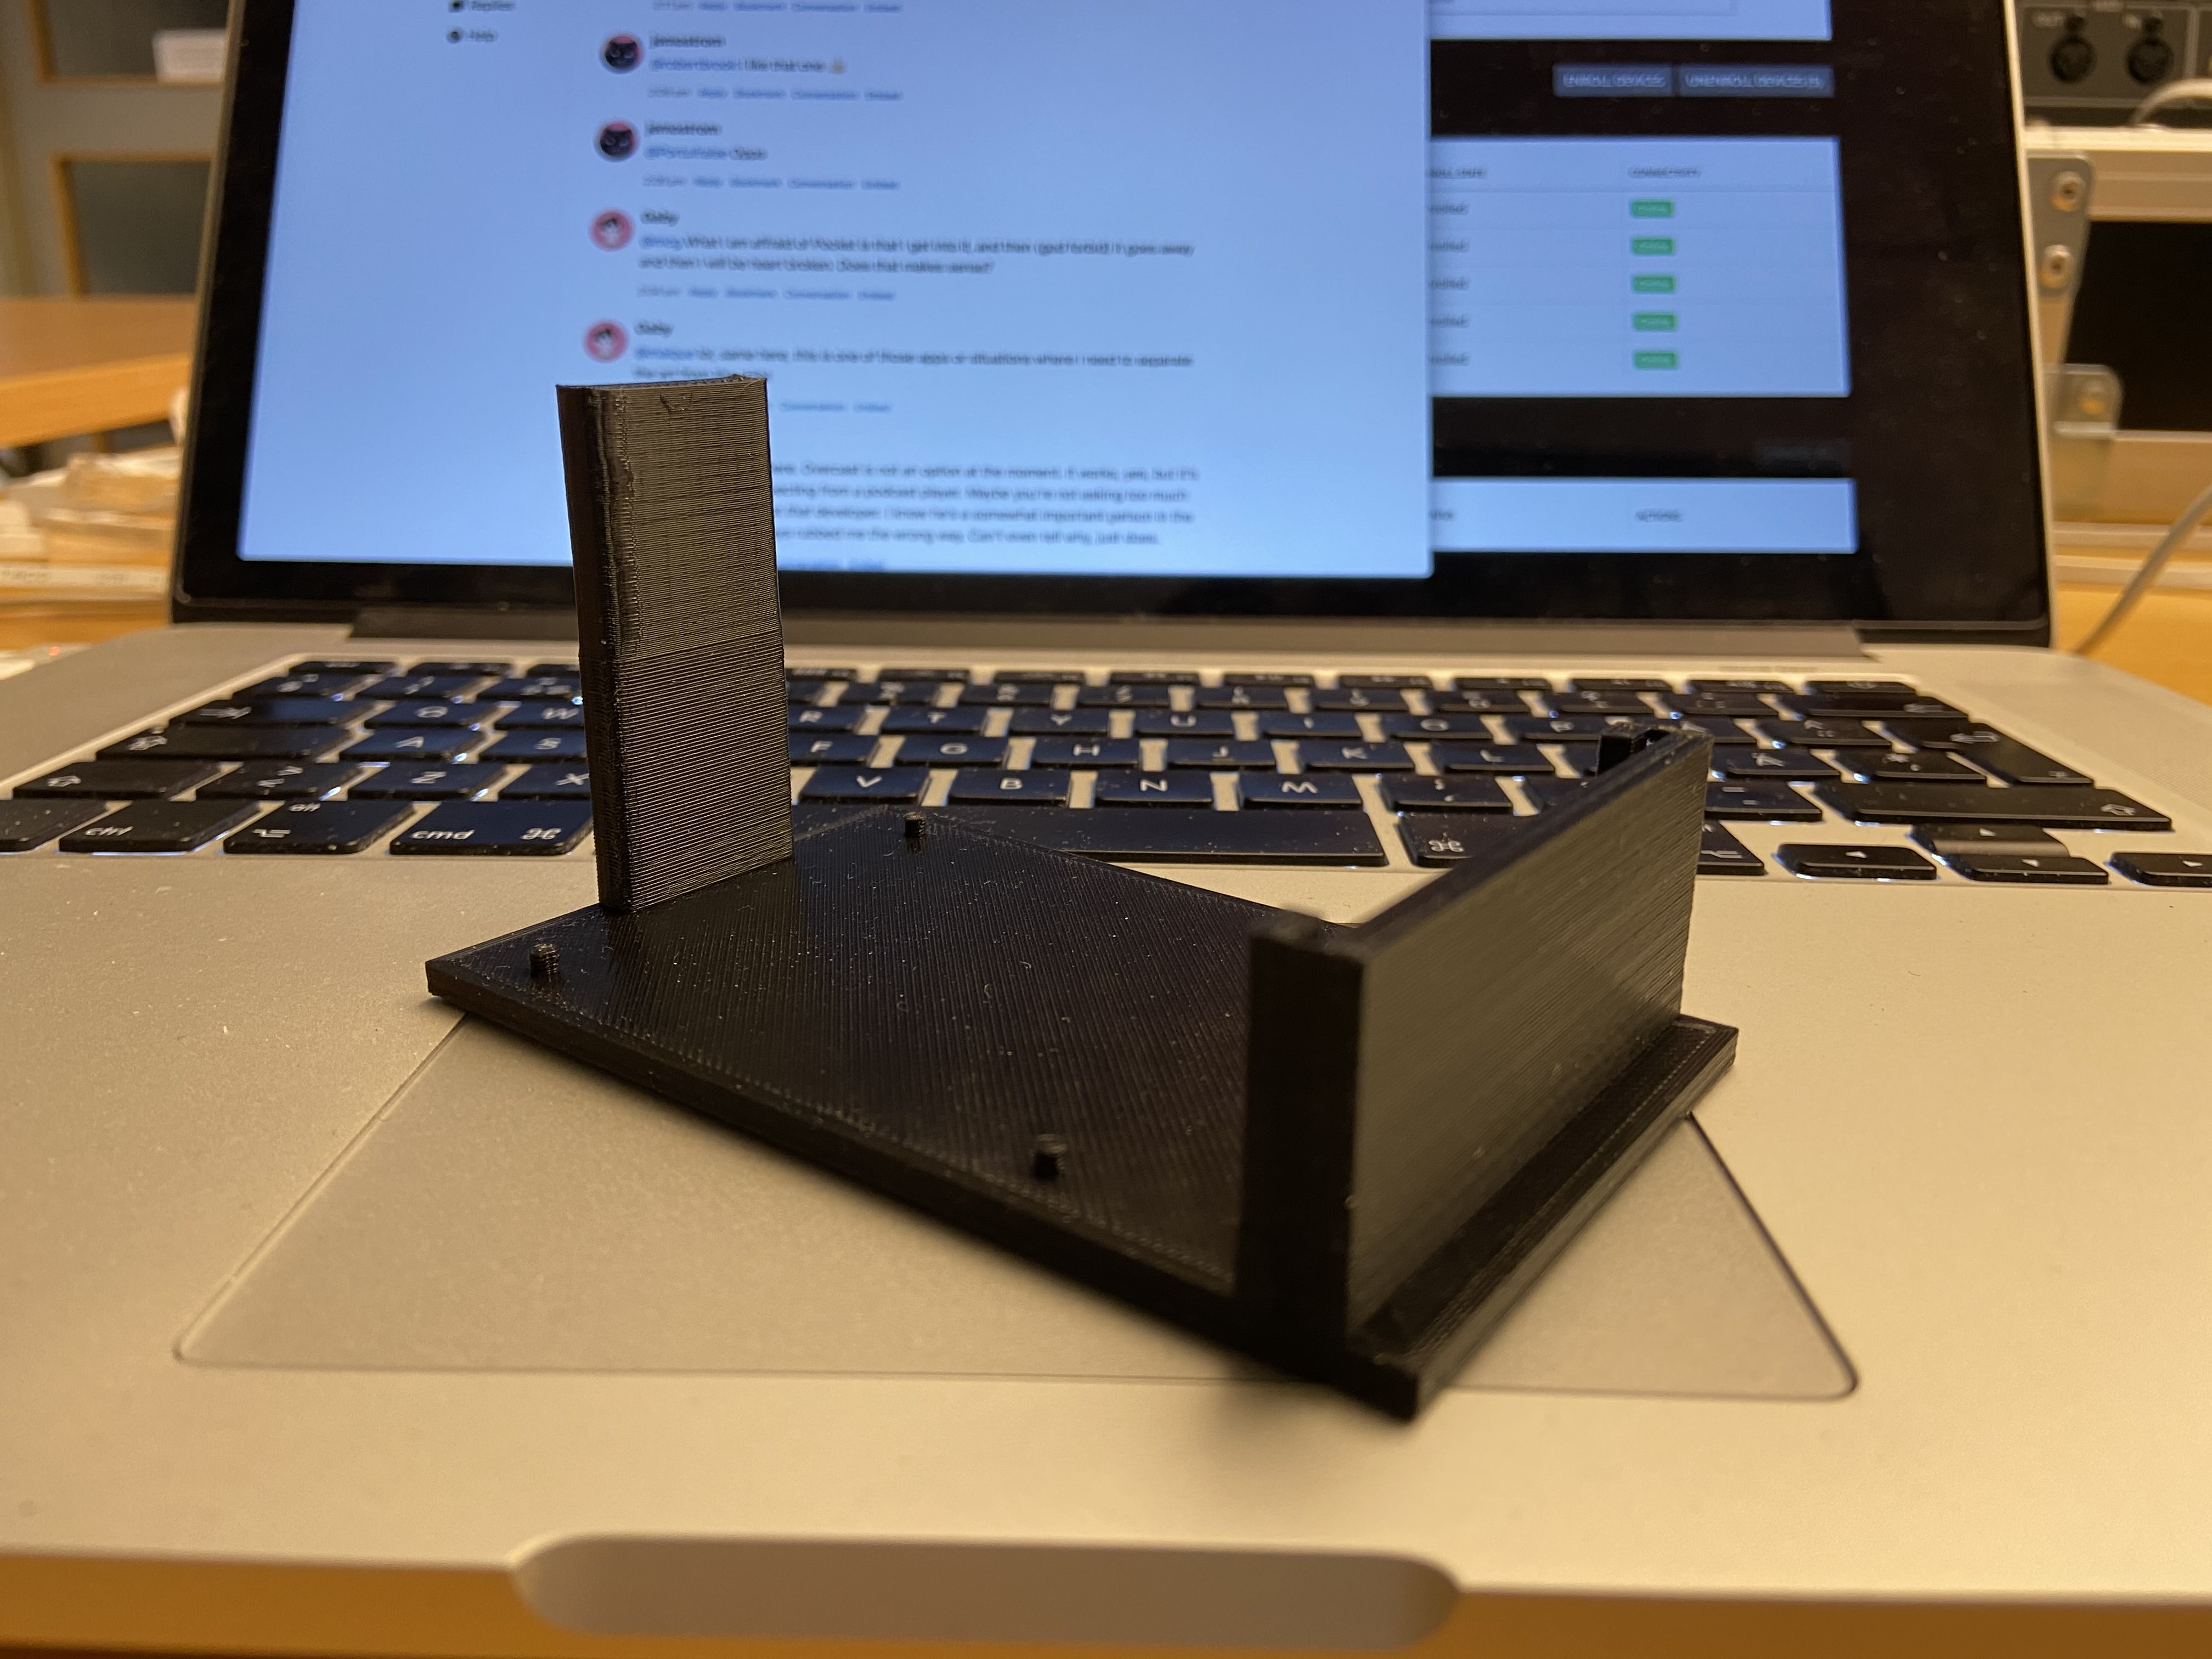
The first print is done but I will need to redo it tomorrow. I forgot that the front mounting holes in the Pi isn’t at the very front so the space between the QR holder and the camera pole is too narrow.
Henrik Carlsson posted this
photo
on
and tagged it with 3D printing snapshots The Year of Music ΠiFi Music Player 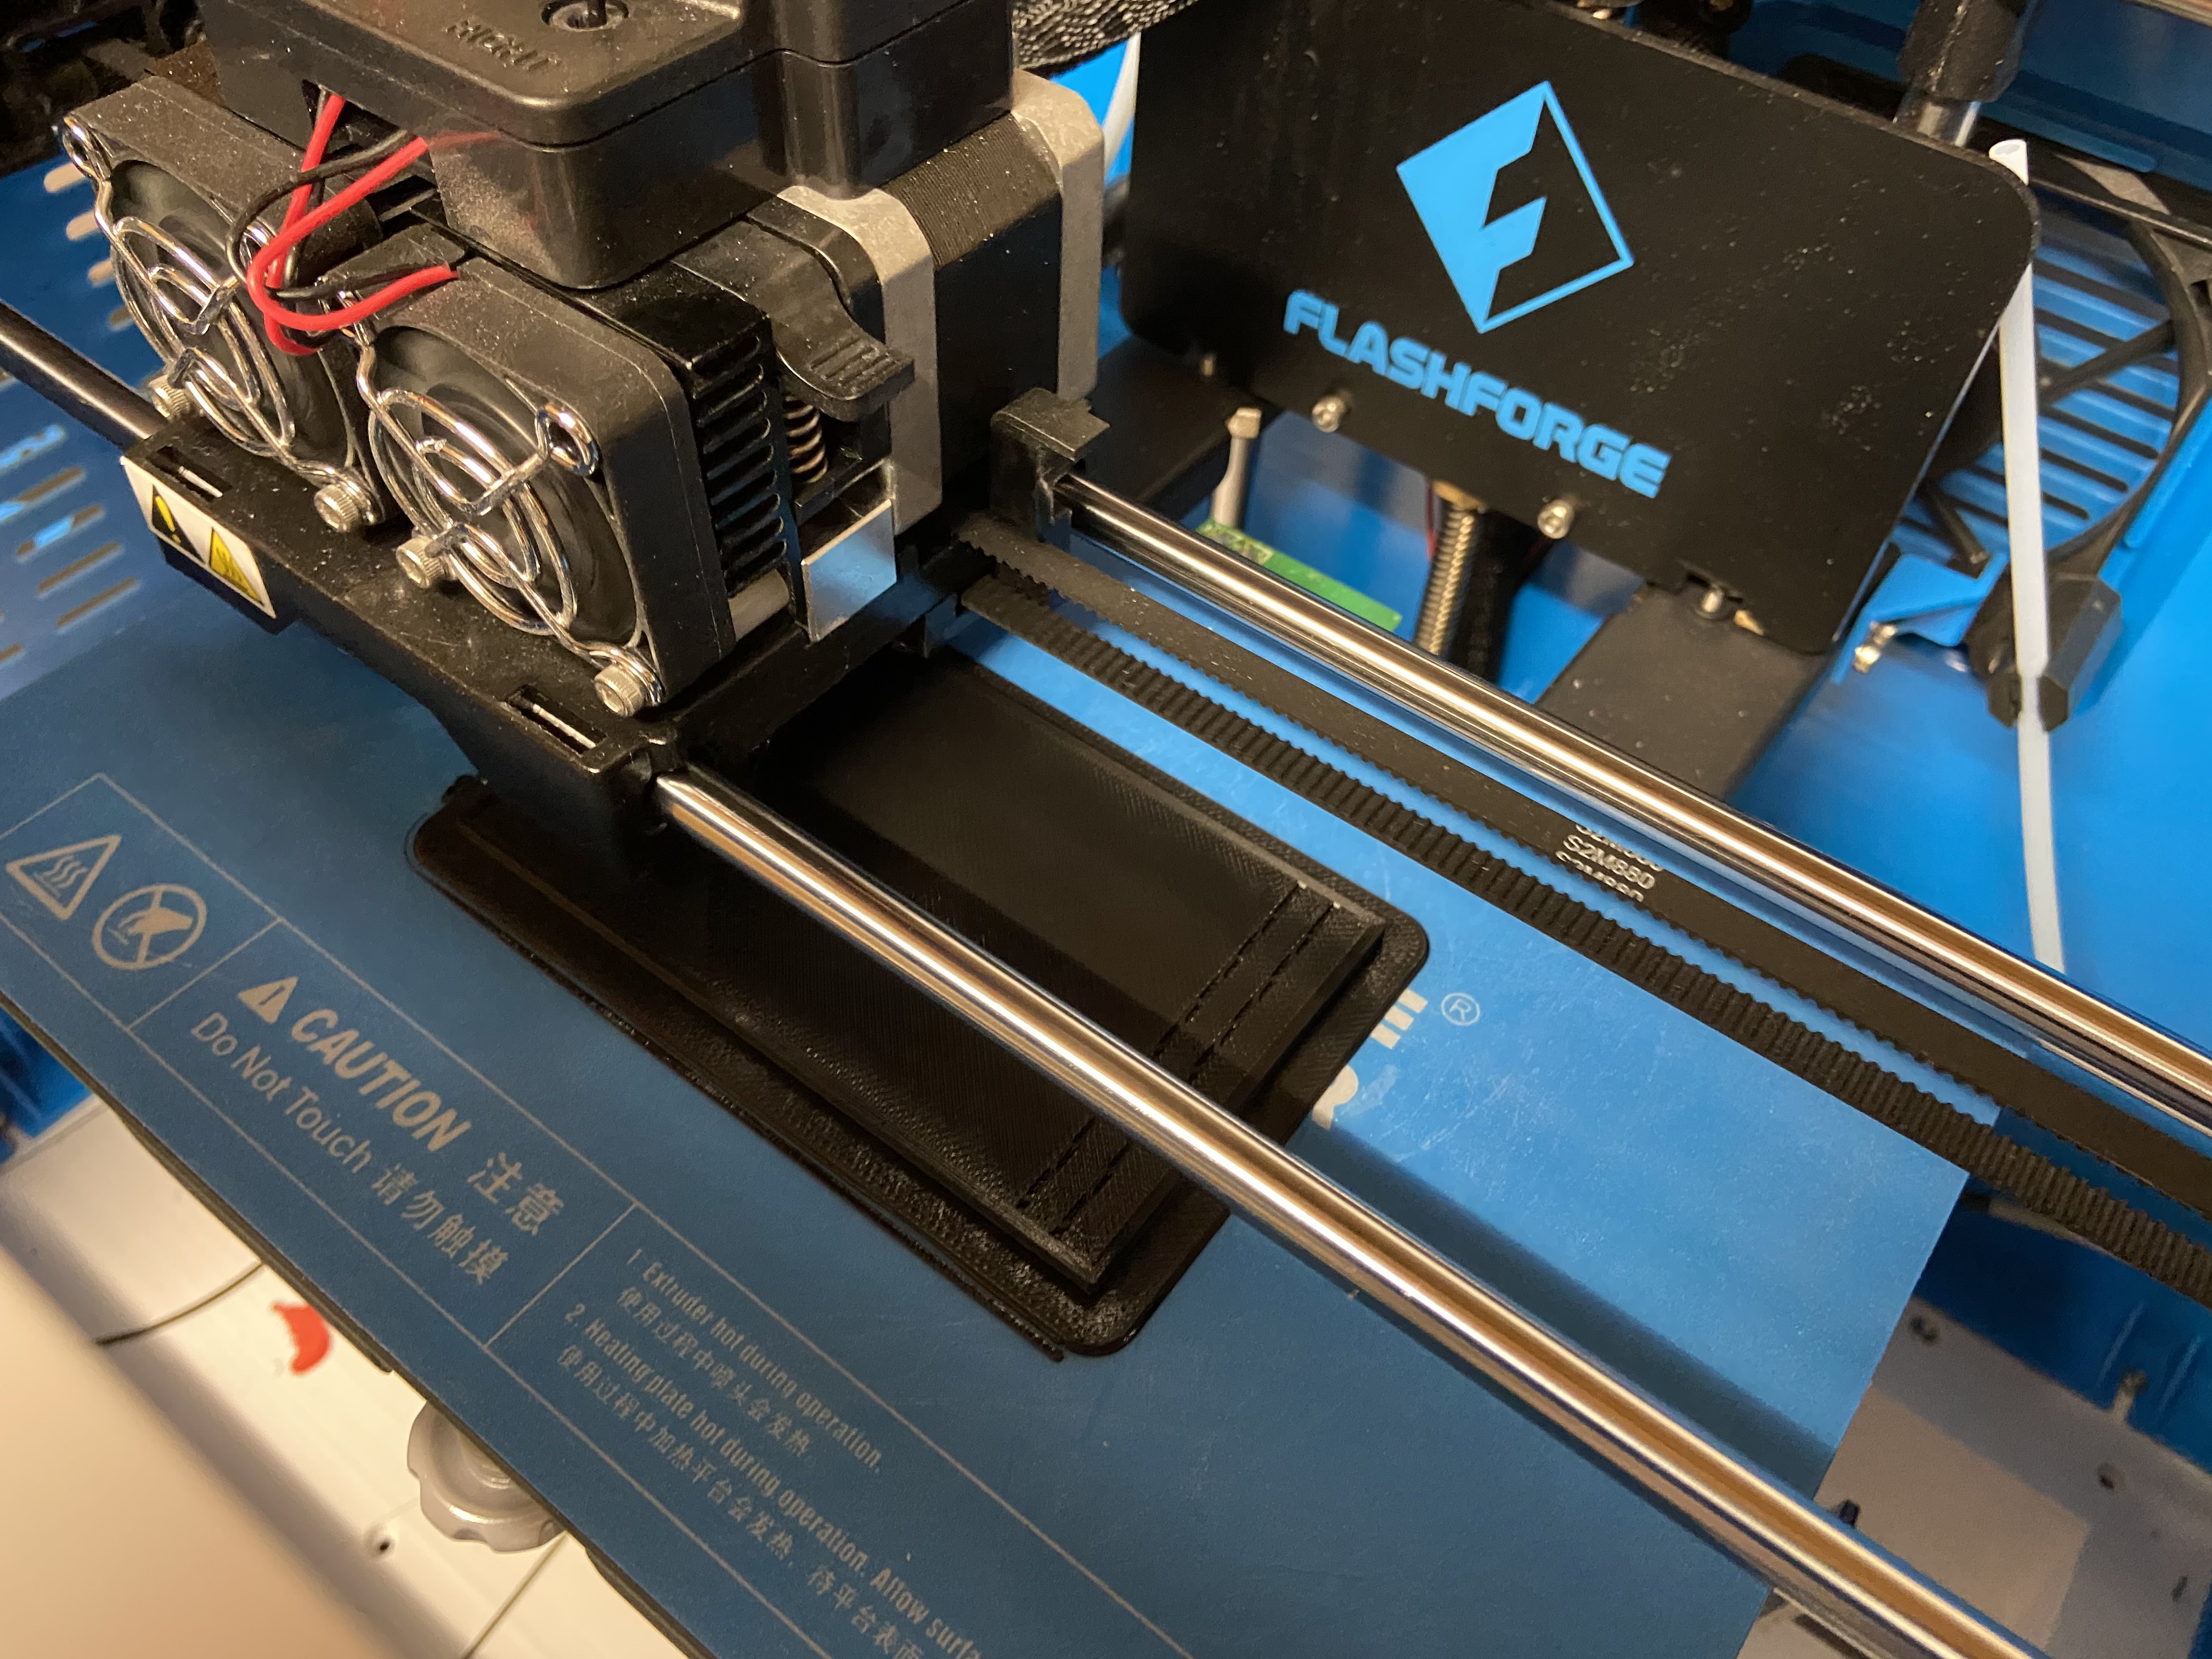
The first prototype of the Pi base plate is in the printer.
Henrik Carlsson posted this
note
on
and tagged it with 3D printing Narrating my work The Year of Music ΠiFi Music Player I’m changing things up for the πiFi Music Player.
The way I intended to make the πiFi I would need to do most, if not all of these and it just makes it too large of a project. So I’ve scaled it back. At it’s core it is still going to work the same way but instead of having a built in power amp and connecting it to custom built passive speakers I’m going to make a device that gives line level audio out and connect it to a pair of powered speakers that Iris already have but rarely use.
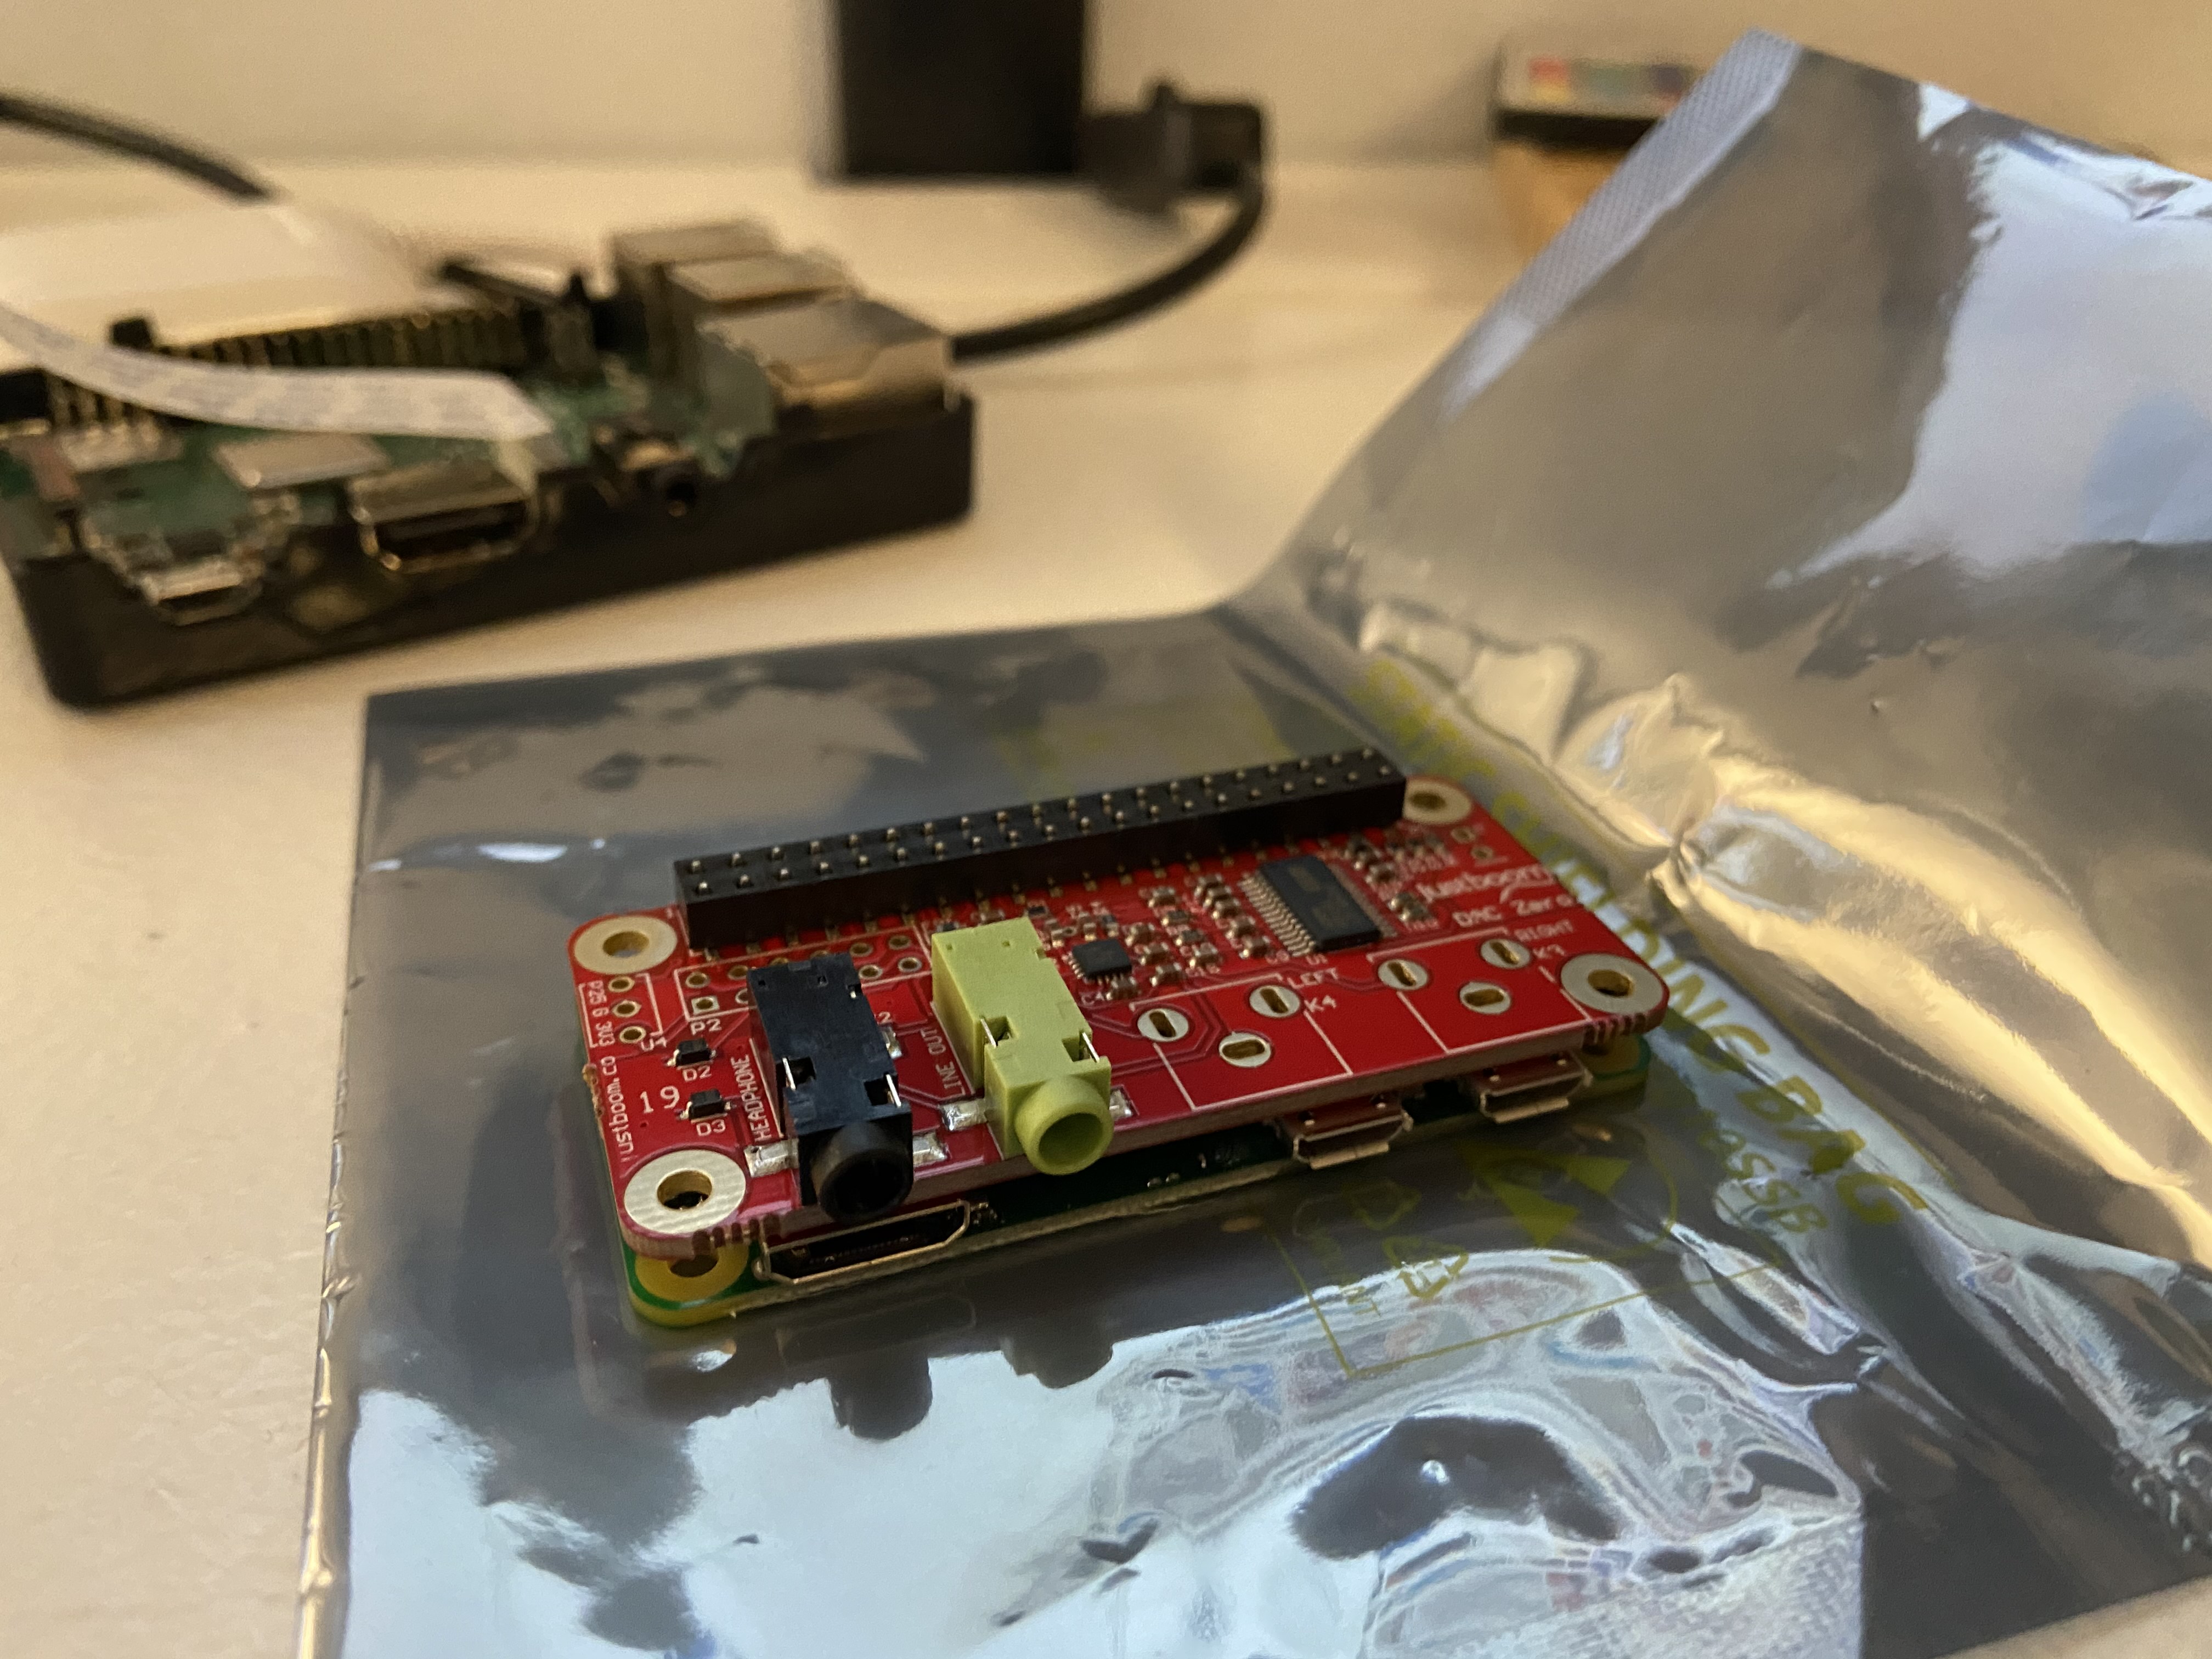
At first I decided to do this using a Raspberry Pi Zero and a JustBook DAC Zero and that was what I sat down to work on tonight. Unfortunately I realised that the Pi Camera Module needs a different cable to be compatible with the Zero and none of my usual suppliers for these kinds of things have that cable in stock. As I was thinking about whether to keep working on other parts of it hit me, why not use the Pi 3 that I used before but without the power amplifier hat? It has a line out built in and works with the camera cable that I have?
So tonight I’ve been working on the first iteration of a simple 3D printed base plate to mount the Pi on, with place to stick the QR codes on in front of it and a mount for the camera. So far the camera mount isn’t finished but I do have a prototype sketch that should work for mounting the Pi and the QR codes. I’ll try to get it printed tomorrow.

 ©
©
Replies and comments
jeremycherfas
9 april, 2021 12:30@MrHenko So cool being able to just do that. But there’s no way I have room for even one more toy.
MrHenko
9 april, 2021 15:06@jeremycherfas But you see, that’s what’s so great about a 3D printer. No space? No problem, you can just print more space! Greatest rationale ever.
In all seriousness though, it is a really fun toy that I highly recommend.